
Do you want to create a website for your new webcomic with WordPress? Looking to make use of the popular webtoon/vertical scrolling format? Are you looking to replicate the same model popularized by websites such as LINE Webtoon and Tapas? In this tutorial, I will show you how to create you very own webtoon styled website using WordPress. We will be making use of the Toocheke WordPress theme. The good news is, you won’t have to write a single line of code!
Do you need a free mobile friendly WordPress theme for your webcomic?
What is a Webtoon Anyway?
Webtoons are a type of webcomic that started out in South Korea. Their surge in popularity was thanks to the proliferation of smartphones, resulting in more and more people reading comics on their phones. The distinguishing feature of a webtoon, is a that each comic is takes the form of one long, vertical strip, using what Scott McCloud called the infinite canvas.
Assumptions
Before we start digging into the tutorial, I am making the assumption that you have already purchased your domain name as well a WordPress web hosting account. If you are looking for an ideal place to host your WordPress website, may I suggest Bluehost. You can get an introductory price of as low as $3.95 per month.
Let’s get started, shall we?
Video Tutorial
If you prefer not to watch the video or need more instructions, then continue reading.
Installing the Toocheke WordPress Theme
Toocheke is a WordPress theme that was built with a webtoon in mind. First thing you will need to do is install and activate the theme. There are two ways to do this.
Option 1: By searching the WordPress Themes Directory
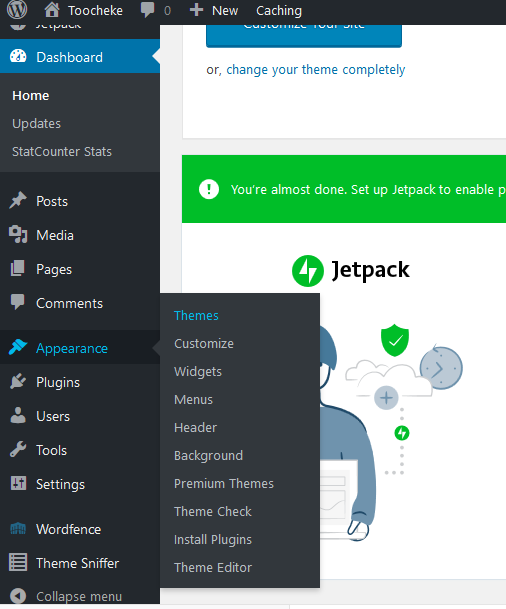
- From your WordPress admin panel, go to Appearance > Themes and click the Add New button.

-
Just do a search for ‘toocheke’ and the first result should be the one you’re looking for.
- Click the Install button
- You may then click the Activate button. But before doing so, please wait to read the section below on Installing a Child Theme.
Option 2: By Uploading the Theme
- Download and extract Toocheke from the WordPress.org theme directory (https://wordpress.org/themes/toocheke) (for the most recent stable release).
- From your WordPress admin panel, go to Appearance > Themes and click the Add New button.
- Click the Upload Theme button
- Choose the zipped Toocheke theme you downloaded, then click install now.
- You may then click the Activate button. But before doing so, please wait to read the section below on Installing a Child Theme.
Installing a Child Theme
If you think there is a potential that you will do any kind of customization to your WordPress theme, you should always make use of a child theme. I cannot stress this enough. The internet is littered with the tears of many WordPress site owners who have learned this the hard way.
What is a Child Theme?
A child theme inherits all the features and appearance of its parent theme. You can change it as much as you want without affecting the parent theme. More importantly, if you do receive an update of the parent theme, and proceed to upgrade the parent theme, you will not lose any customization you may have done to the child theme. When you upgrade the parent theme, any changes made in the child theme are preserved and applied on the updated version as well. This is why child themes are always recommended. Instead of changing the parent theme directly you can simply override it with a child theme.
Do you need a customized WordPress theme designed for your webcomic?
Let’s do this!
The good news is we have created a Toocheke child theme for you, all you will have to do is download and then install it.
- Download the Toocheke child theme from here.
- Inside your WordPress admin area, head over to Appearance > Themes page and click on the Add New button.
- Click on the Upload Theme button. This will show you theme upload option.
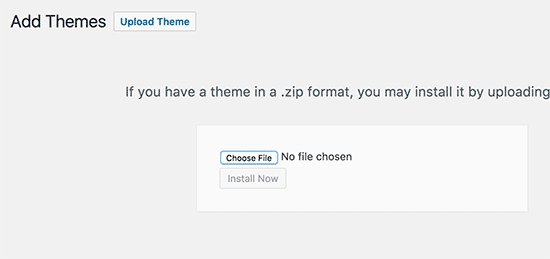
- Click on Choose File to select the toocheke-child.zip file from your computer and then click on Install Now button.
- WordPress will now upload the file from your computer and install it.
- After the installation is complete, click the Activate button to activate the child theme.
Installing the Toocheke Companion Plugin
To utilize the full capabilities of the Toocheke theme, you are going to need to install and activate the Toocheke Companion Plugin. All it does is give you the ability to post a comic. You should already be seeing a notification (This theme recommends the following plugin: Toocheke Companion) in your WordPress admin panel asking you to install it.
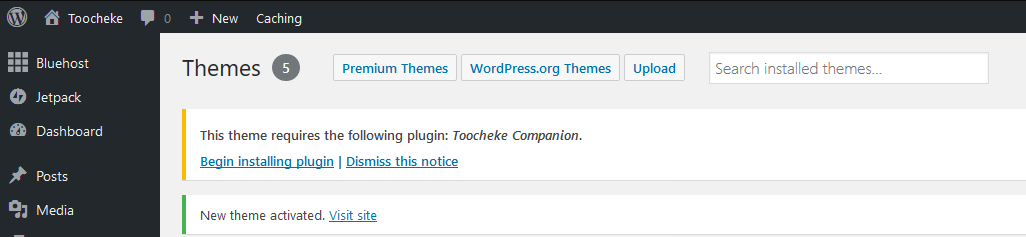
- Click on Begin Installing plugin link
- You should be redirected to the Install Required Plugins page. Click on the Install link below the Toocheke Companion plugin. The plugin will install and activate.
If for some reason you do not see the plugin notification, you can follow the following steps:
- Download the Toocheke Companion plugin from here.
- Inside your WordPress admin area, head over to Plugins > Add New page and click on the Add New button.
- Click on the Upload Plugin button.
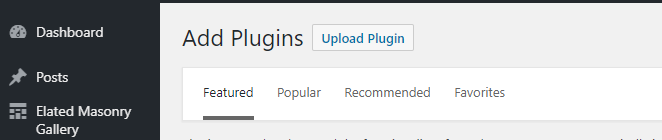
- Click the Choose File button and upload and install the toocheke-companion.zip file
- Click the Activate Plugin button
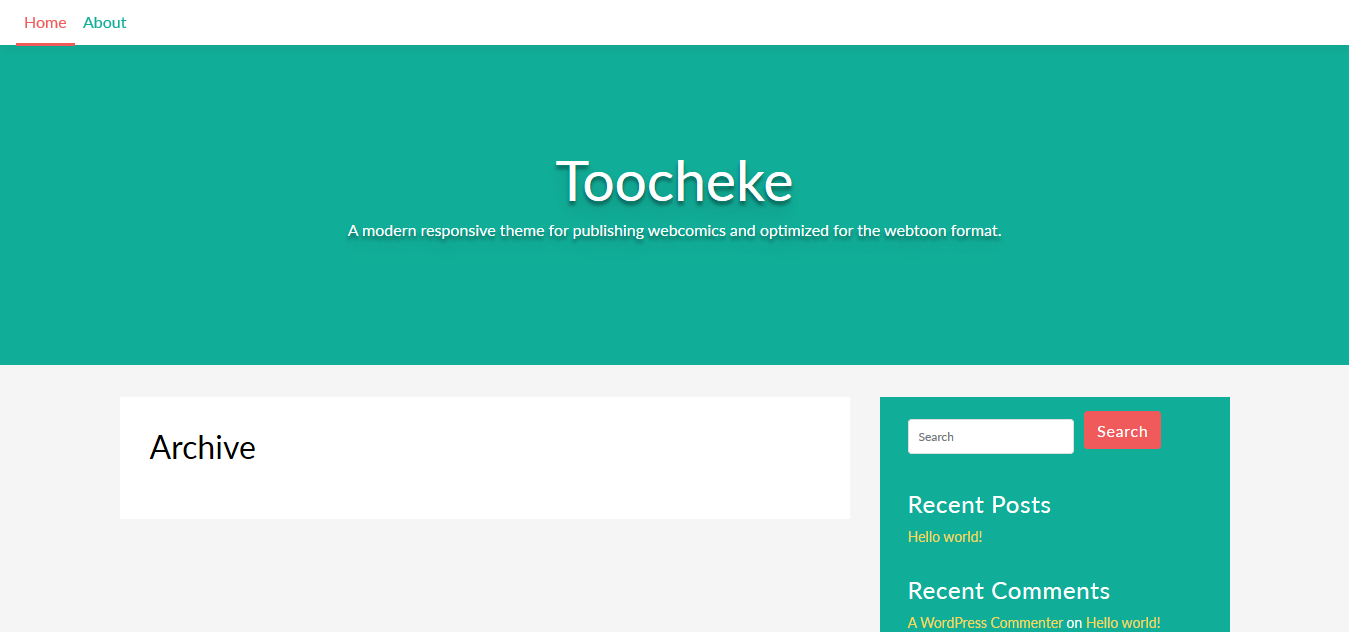
Now would be a good time to see what our brand spanking new WordPress website looks like.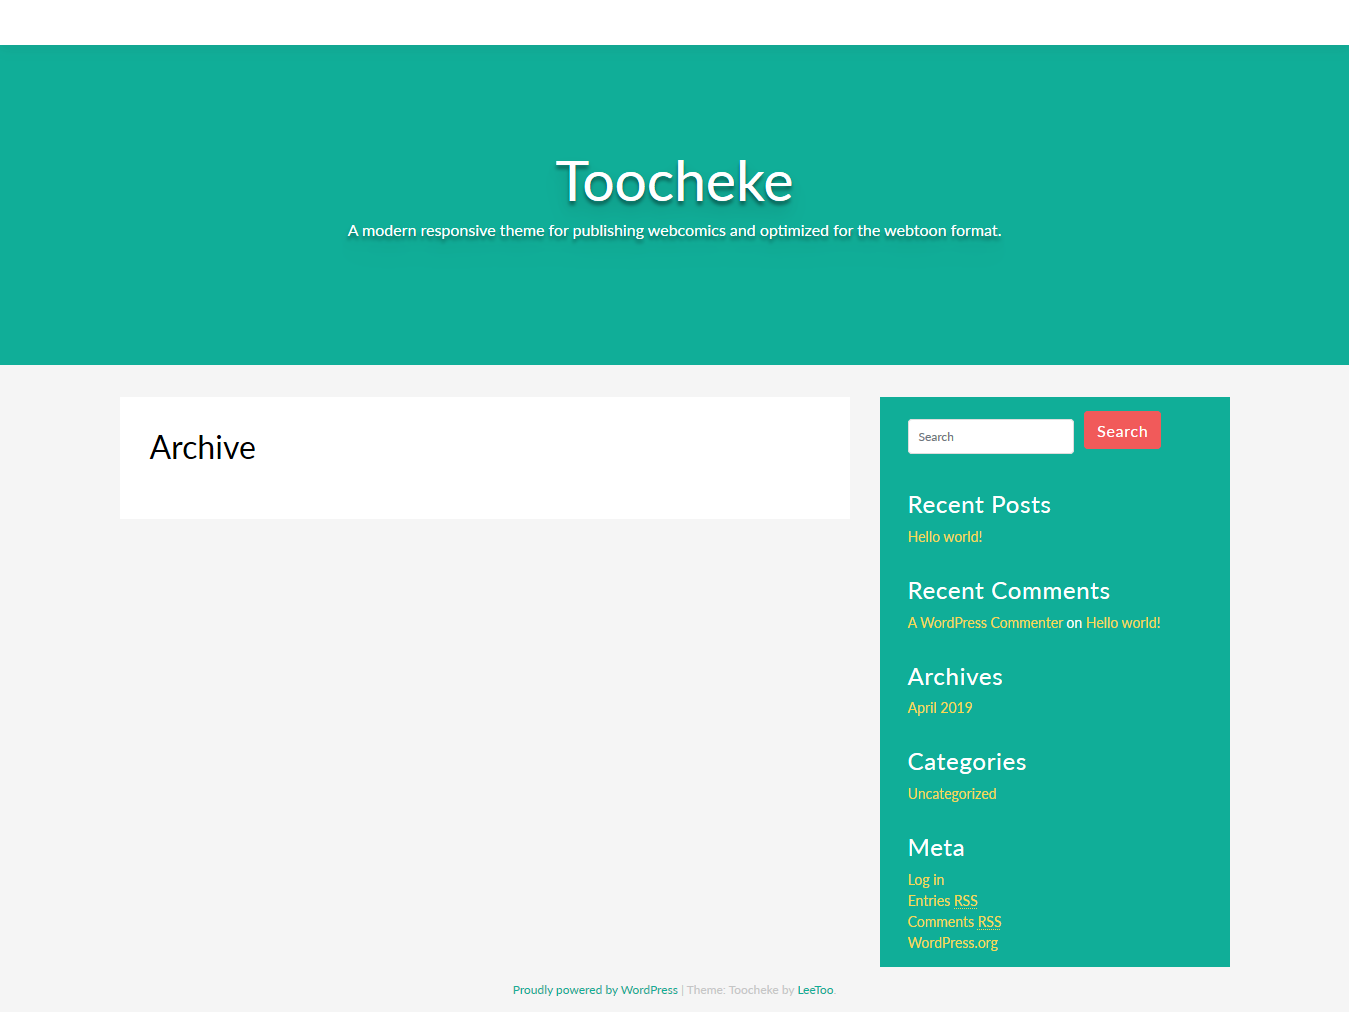
Not where it needs to be, but be patient grasshopper. We will get there ;).
Adding New Pages for Your Website
You will now need to add some pages that will be accessed from the main navigation bar. I will leave it up to you to decide what you want for your menu items. Webcomic sites tend to have any number of the following pages: Home (linking back to the home page), About Us (description of the comic), Author (a brief description about the author), Contact (contact information for the cartoonist) and an Archive page (listing previous comics). Please note that the Toocheke theme already has a comic archive listing built into the home page. I will leave it up to you to decide which pages you want available from your navigation bar.
For the purposes of this tutorial, we are going to have the following menu items: Home and About. We already have our home page setup by default. But to add the About page, go through the following steps:
- Inside your WordPress admin area, head over to Pages > Add New page and click on the Add New button.
- For the title, enter About. For the content area, type in your content
- Once you are done click the Publish… button.
Populating Your Main Navigation Menu Bar
We will now start populating your main navigation bar using the Home and About pages.
- Inside your WordPress admin area, head over to Appearance > Menus page.
- In the Menu structure, in the Menu Name field, add the name for your menu bar. It can be anything you choose to have.
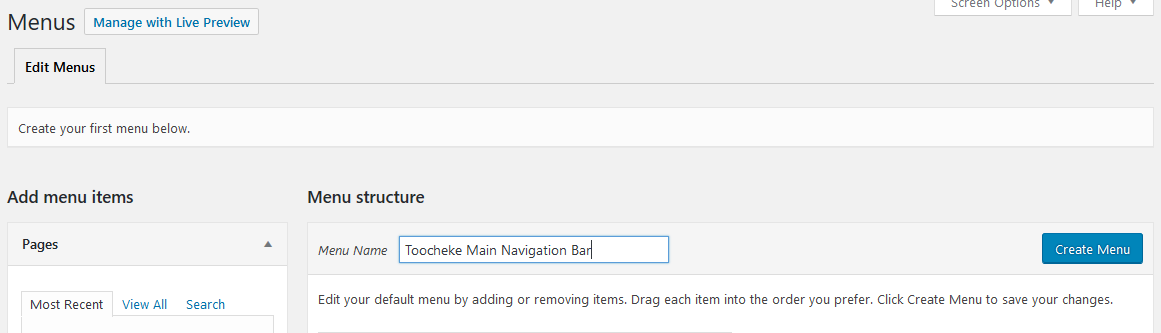
- Click on the Create Menu button
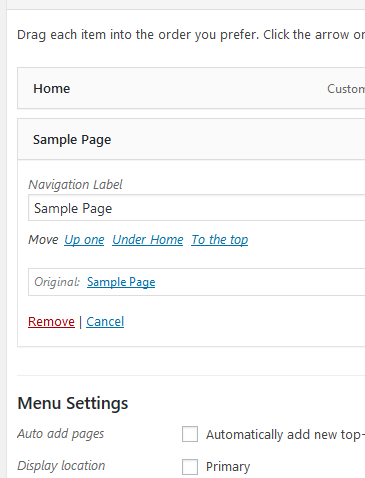
- Remove any default menu items you may have (except the Home menu item).
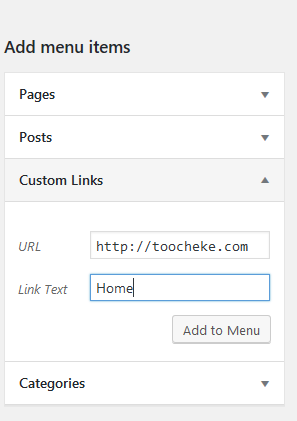
- If you do not have the Home page among your menu items, under the Add menu items section, expand the Custom Links tab.
- In the URL field, enter the full URL of your website e.g. http://www.toocheke.com
- For the Link Text field, enter Home.
- Click the Add to Menu button.
- Click the Save Menu button.
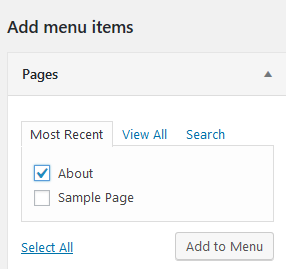
- Now to add the About menu link, expand the Pages tab under the Add menu items section.
- The About Us page we created should appear under the Most Recent tab, if not, try the View All tab.
- Click on the check mark next to the About page and then click the Add to Menu button.
You should now have Home and About as your to menu items for your navigation bar. - Under the Menu Settings section, for the Display location field, check the Primary checkbox. Then click Save Menu. All this does is ensure our new menu will appear in the navigation bar.
Customize the Header
Our header section looks a bit bland. Let’s spruce it up a little.
- Inside your WordPress admin area, head over to Appearance > Customize page. This should load up your Customizer page.
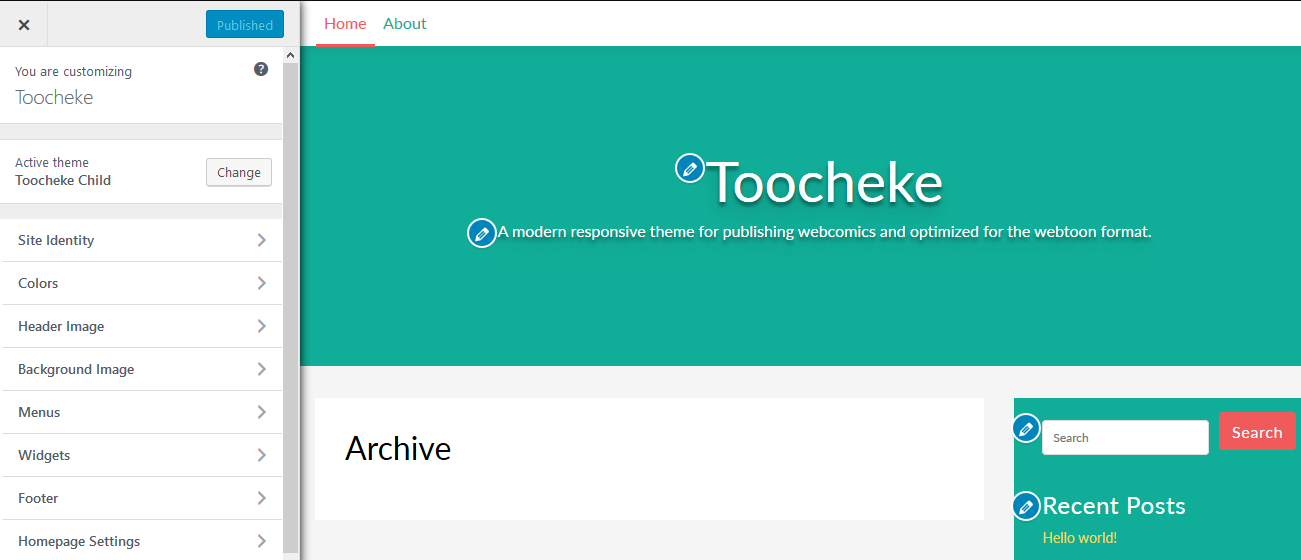
- Click on the Site Identity tab.
- Update the Site Title and Tagline as you fit. Or if you prefer to hide the text in the header, deselect the Display Site Title and Tagline checkbox.
- Click on the Publish button.
- Head back to the Customizer’s main navigation (by clicking the ‘arrow left’ link next to the Customizing Site Identity text.
- Click on the Header Image tab.
- Click on the Add new image button.
- Upload an image you would like to use for your header. Make sure it is 1920 by 320 pixels in size.
- Click the Publish button
- Exit the Customizer window by clicking the ‘x’ button in the top left corner.
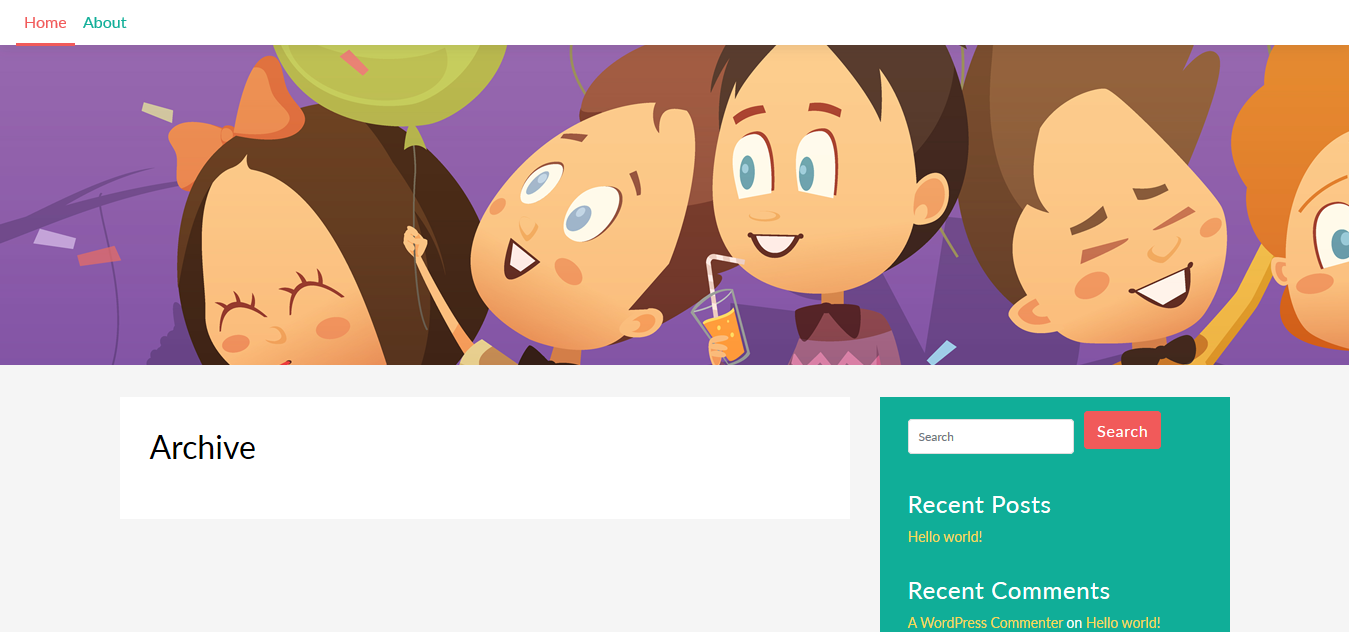
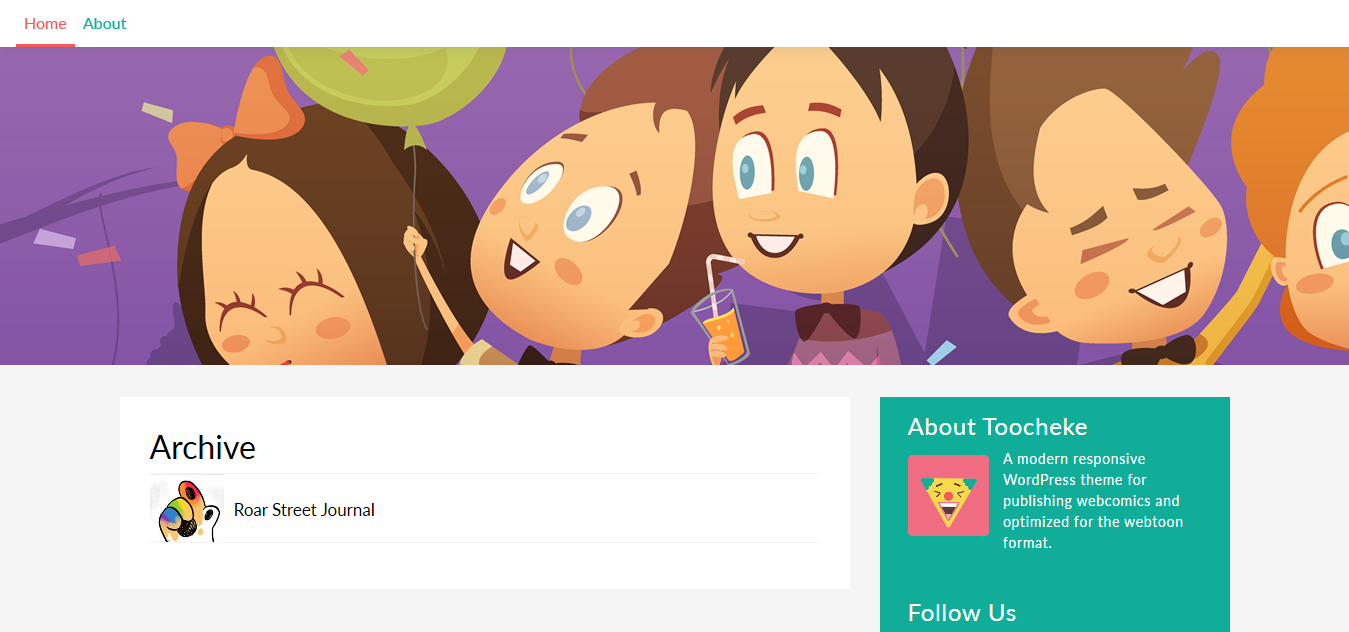
- You should now have an updated header.
Customize the Sidebar
Now let change up the Right Sidebar a little bit. You will have noticed that it may have default content added in by WordPress.
We are going to remove all the widgets currently in the sidebar, and replace them with a couple of Toocheke widgets: Social and About Us.
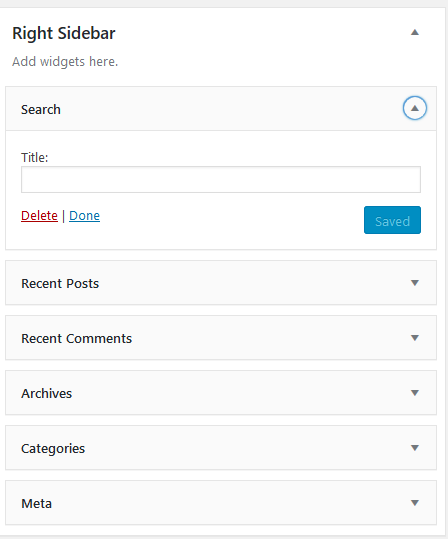
- Inside your WordPress admin area, head over to Appearance > Widgets page.
- Expand each of the widgets in the Right Sidebar section, and click the Delete link.
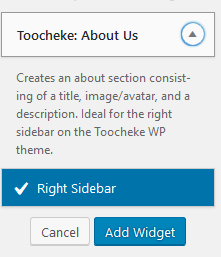
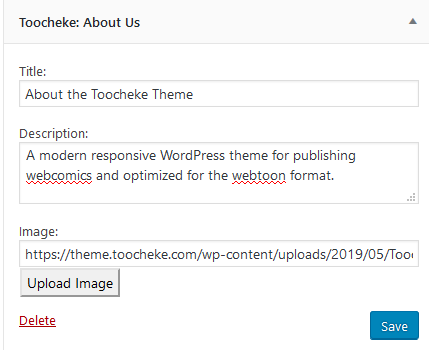
- When the Right Sidebar is empty, over in the Available Widgets section (on the left), locate the Toocheke: About Us widget. Expand it. The Right Sidebar should already be preselected. Click the Add Widget button.
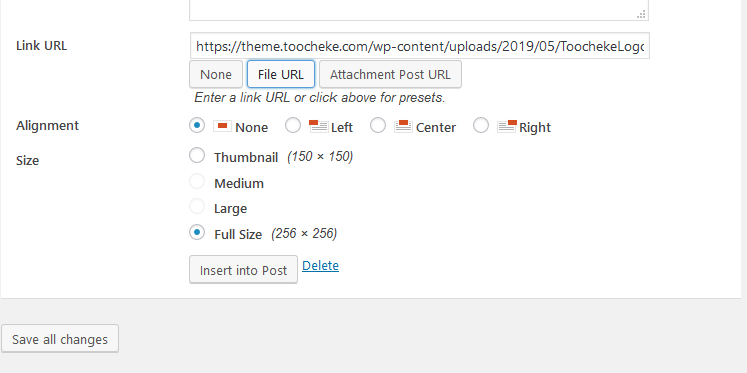
- Enter the Title and Description fields. This could be a brief description of your comic. Also upload an avatar image if you wish.
- One note, make sure when uploading the avatar, on the upload window that pops up, scroll down to the Link URL field, and click the File URL button. Then click the Insert into Post button.
- The Toocheke: About Us widget should now have all fields filled out. Click the Save button.
- In the Available Widgets section (on the left), locate the Toocheke: Social widget. Expand it. The Right Sidebar should already be pre-selected. Click the Add Widget button.
- Fill out the title of the widget area as well as all your social media links.
- If you’d like to add an RSS feed to the Toocheke: Social widget, it should have the following format http://www.yourdomainname.com/comics/feed
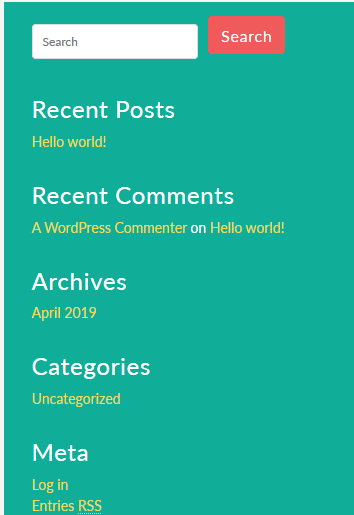
- Click the Save button. Voilà: the sidebar is ready.

Publishing Your Comics
Now comes the fun part that I know you have been dying to get to. Posting your comics!
I’ll be working on the assumption that you’ll be posting a webtoon/vertical scroll formatted comic. The Toocheke WordPress theme is optimized to display vertical comics. With that in mind you will need to do some prep work on each of your comics.
- Make sure that your comic image is at least 800 pixels in width. This will ensure that the comic will display well in high-resolution, large screens.
- Given that your comic will be very large, I would recommend you slice up your comic image into several images. You don’t want your readers waiting to load the whole comic into their browsers. A sliced-up comic reduces “page weight” or load time considerably for the reader, thus improving the reading experience. Here is a great tutorial on slicing up your comic.
- Make sure each of your sliced images are at 72 dpi resolution.
- Also make sure you create a thumbnail image for your comic that is at least 70 by 70 pixels (at 72 dpi). This will be used for the archive section on the home page as well as the comic slider on the comic page.
When you have finished prepping all your comics, go through the following steps for each of your comics.
- Inside your WordPress admin area, head over to Comics > Add New page.
- Enter the title of your comic.
- Upload your comic’s slice images using the Add Media button.
- On the right side under the Featured Image section, click on the Set featured image link.
- Upload the image and then click the Set featured image button.
- Click the Publish button to post your comic.
That’s all there is to it! Your comic should now show up in the Archive section in the home page.
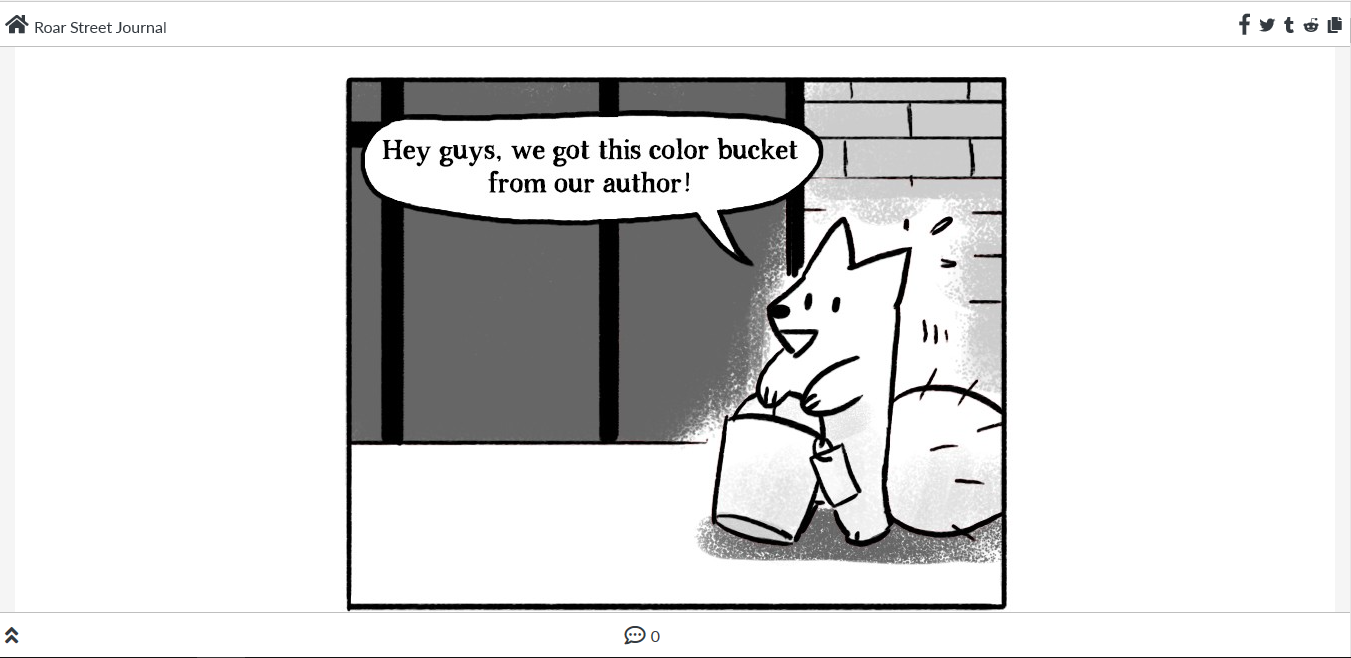
And when you click on the comic thumbnail, it will take you to the comic’s page.
One final note. You may encounter a 404(page not found) error when you try to access the comic’s page. To resolve this, do the following.
- Inside your WordPress admin area, head over to Settings > Permalinks page.
- Under Common Settings, make sure you select Post name. This is ideal for SEO purposes.
- Make sure you click the Save Changes button, whether or not you changed the Common Settings.
That should resolve the 404 error.
You should now have a fully functioning webtoon style, webcomic site. Hope you enjoyed the tutorial and feel free to tweet at @toocheke if you have any questions.
Happy tooning! 😉